How to Use the Windows Snipping Tool
Ever wonder how to take a screenshot? The snipping tool is a powerful feature of most Windows computers and can be used to create images of the device's screen.
Using the snipping tool is very straightforward.
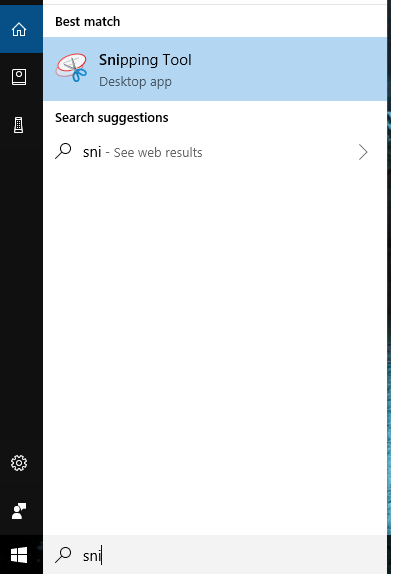
To access it, simply search "snipping tool" in the windows search bar.
Then, click on the scissors and paper icon which shows up in the results.
This tool has a very basic interface. A snip is an image of part of the screen.
Users have the option to take snips as well as to adjust basic settings.
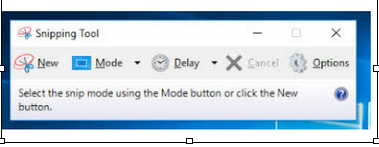
To take a snip, press the button titled "New." Then, adjust the box to get the area that you would like to capture.
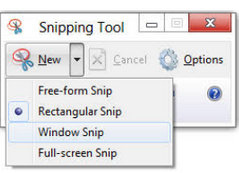
By default, this box is in the shape of a rectangle. To change, click mode and select your preference.
When you are ready to take a screenshot, simply release your mouse or touchpad. A new interface will
appear with your image and a set of additional options. For instance, you may click the mail icon to email your
screenshot, or you can save your image:
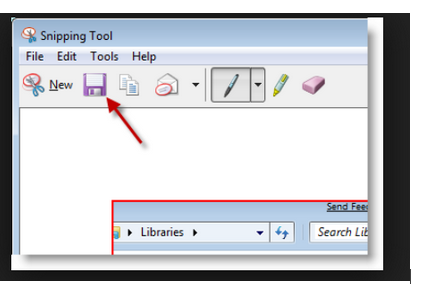
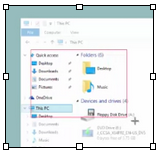
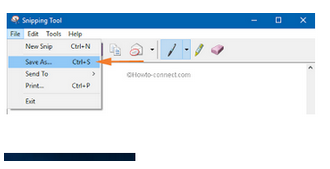
To save, press file. Then, click Save As.
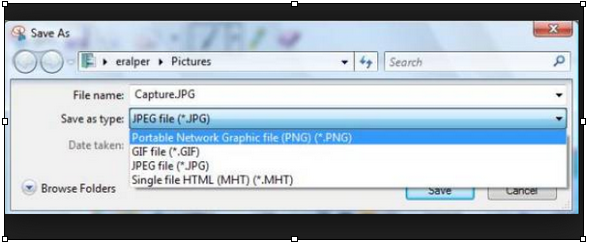
You will be asked to choose the type of image you
would like as well as the location to save to.
Still confused or looking for a more in-depth tour? Click here for a basic video tutorial.